




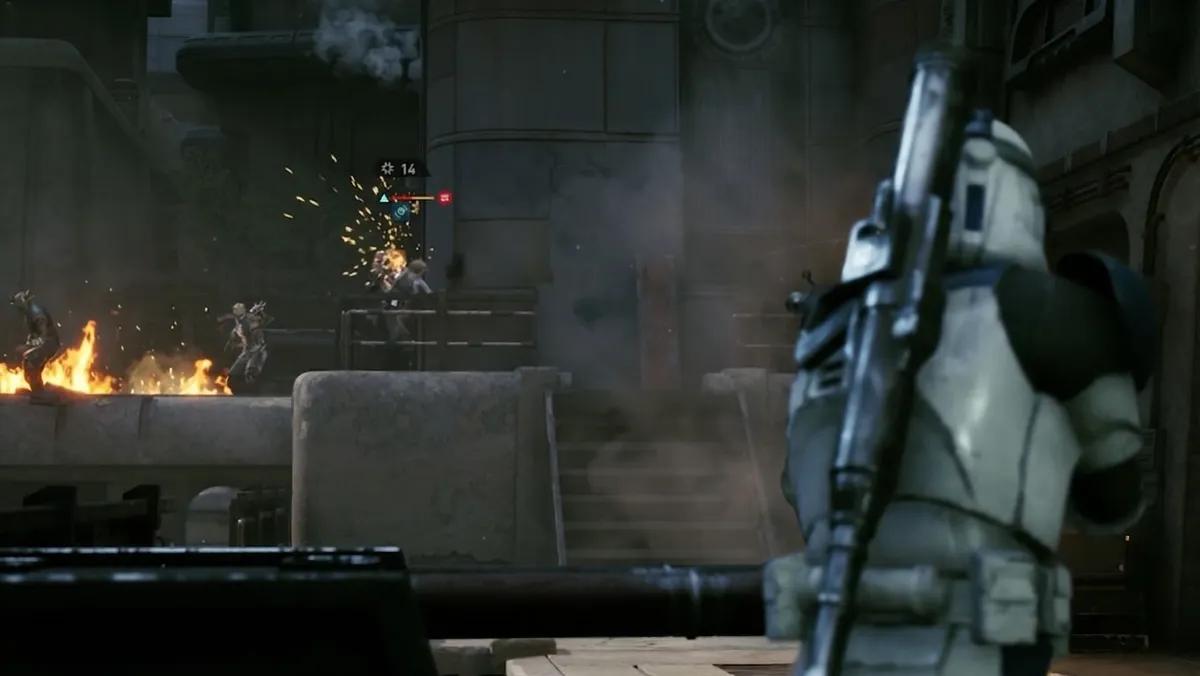
Everything You Need To Know About Star Wars Zero Company Before Starting
Star Wars Zero Company is a turn-based tactics game with permadeath switched on by default and an optional Ironman mode called Beskar, which means the mistakes you make in the first ten cycles follow you for the rest of the run. It isn't a punishing game on normal difficulty if you've played XCOM or Midnight Suns, but it does hide several systems behind menus that never explain themselves. These are the five things worth internalising before you commit to a difficulty setting.
Best Tricks for Star Wars Zero Company
Most of what decides a Zero Company run happens outside combat: which Operators you bring, when you spend Intel, and whether you swept an exploration area before triggering a fight. The combat systems themselves are simple enough that a genre veteran will coast through normal difficulty, but the resource economy around them punishes sloppiness for the whole campaign. The campaign decisions in Best Choices To Make in Star Wars Zero Company stack on top of these habits, and several of them hand out permanent stat bonuses you can't get any other way.
- Give the difficulty an extra think — you can't change it later without losing achievements
- Leave one AP spare for Overwatch on almost every turn
- Let Backup dictate your turn order, not the other way round
- Farm Advantage off the weakest Battle Droids instead of ignoring them
- Run your Operations before you go shopping at the Black Market
Note: these all assume permadeath is on, which is the setting the game is built around. Two of them — the AP rule and the Backup ordering — cost you nothing but attention, and they're the two that most often decide whether an Operator survives a bad turn. The other three are economic, and their payoff compounds over the 30 to 40 cycles a full run takes.
Give the Difficulty an Extra Think Before Getting Started

The one setting you can't cleanly reverse later.
Zero Company tells you that normal is a good challenge for players who don't usually touch tactics games, and that's accurate. If you've played XCOM or Midnight Suns, normal will feel thin — the early missions in particular can be genuinely boring, and the later ones don't tighten up as much as you'd hope. Hard or above is where the genre veterans should start. You can bump normal up to hard mid-run, but doing so forfeits every difficulty-linked achievement, and the same applies in reverse if you drop from hard down to normal. Spend longer on this screen than you normally would, because it's the only decision here that the game won't let you rethink for free.
Leave One AP Spare for Overwatch
One AP buys a reaction shot and a chance to interrupt an enemy mid-move.
Every action in Zero Company costs AP, but Overwatch only costs a single point, which makes it the best value action in the game. An Operator holding a cone gets an extra shot during the enemy turn if a target acts or moves through it, and that shot can interrupt the enemy's movement outright rather than just chipping damage. Compare that against what a final AP usually buys you — a low-percentage shot from an Operator who's already fired once, at a target behind cover. The Overwatch cone wins that comparison almost every time. Get into the habit of ending turns with cones up, and defensive encounters where reinforcements arrive from two directions become far more manageable.
Let Your Backup Dictate Your Order of Operations
The free extra shot is easy to waste on a corpse.
Backup randomly picks one squad member each turn to nominate a partner, and that partner fires at the same target — provided they have range and line of sight, which is the part people forget to check. Used deliberately, it lets you burst down a single problem enemy in one turn. Used carelessly, it does nothing, because the original shooter killed the target with the first shot and the partner had nothing left to fire at. The fix is a sequencing rule rather than a tactic: move everyone else into position first, confirm the backup partner actually has a line, and only then shoot with the Operator holding Backup. It costs you nothing but the discipline to stop clicking.
Let the Simpler Droids Feed You Advantage
Weak enemies are a resource, not an inconvenience.
You will fight an enormous number of droids in this game, and the basic B1 Battle Droids are the single best source of Advantage available. They typically fall to one blaster shot, which makes them ideal for anyone carrying a pistol that fires multiple times per turn. Gunslingers are the standout here, since Quick Draw refunds AP on a kill and lets a single Operator chain through several droids in one turn while banking Advantage the whole way. The mistake is treating them as filler and focusing your fire on the dangerous unit at the back — a swarm of B1s will overwhelm a squad that ignores them, and you'll have left free Advantage on the table doing it.
Run Your Operations Before You Go Shopping
Operations resolve instantly and can change what you can afford.
Zero Company separates Missions from Operations: missions advance the clock and the story, while Operations cost Intel and resolve the moment you commit to them. Because Operation outcomes can hand you Credits, gear, Capacitors, or Contacts — or cost you Credits outright — running them first tells you what you're actually working with. Buy a Den upgrade or clear out the Black Market beforehand and you may find you spent Credits you'd have wanted back, or bought a Modification an Operation was about to give you. While you're at the upgrade table, don't overlook the weapon family upgrades either: paying Credits for flat pistol damage or sniper critical chance is how your loadout stays relevant deep into the campaign.
Star Wars Zero Company Walkthrough Help

The campaign runs fourteen chapters, and the first four set up every system you'll use for the rest of the run. Here's where they sit:
- Prologue — The Serolonis Job
- Business As Usual — Not Your Turf
- In Debt to the Hutts — Stolen Goods or Buyer Beware
- Republic Intelligence — Eavesdropping
- Smugglers and Slugrats — Cutting-Edge Tech, Cold Metal
The prologue is pure tutorial and covered step by step in How To Complete The Serolonis Job in Star Wars Zero Company - Mission 1 Walkthrough, which is where cover, flanking, Overwatch, grenades, and healing all get introduced. How To Complete Not Your Turf in Star Wars Zero Company - Mission 2 Walkthrough is a short Lothal contract with a reinforcement wave that rewards the Overwatch habit directly. Things open up properly at How To Complete Eavesdropping in Star Wars Zero Company - Mission 3 Walkthrough, which adds exploration pickups, a recruitable roster, and a fight you start from the weaker position.
Note: talk to your named companions every time you return to the Den. Those conversations unlock side quests, fill in backstory the missions skip over, and build the Bond levels that several later story missions require you to have already earned.
Best Star Wars Zero Company Strategy for Beginners
Spend most of your time with the bespoke Operators rather than the customisable hires from the computer terminal. The hires have their uses, particularly as bodies to throw at risky Operations, but Bond levels only matter on the named characters, and several story missions require specific Operators to come along — assuming they're still alive when you need them. Explore every open area between combat sections for Intel and Advantage, and learn what each specialisation does early, because you'll eventually be able to add a second specialisation to any character and the good combinations are only obvious if you already know both halves.


 Successfully copied... Thank you for sharing our content!:



5% deposit bonus up to 100 gems

a free Gift Case





EGAMERSW - get 11% Deposit Bonus + Bonus Wheel free spin


EXTRA 10% DEPOSIT BONUS + free 2 spins

3 Free Cases + 100% up to 100 Coins on First Deposit


5 Free Cases, Daily FREE & Welcome Bonuses up to 35%

3 free cases and a 5% bonus added to all cash deposits.

+5% to deposit




Comments