




How To Complete Eavesdropping in Star Wars Zero Company - Mission 3 Walkthrough
Eavesdropping is the critical mission of the Republic Intelligence chapter and the first job in Star Wars Zero Company built around more than a room full of enemies. You work alongside Republic Intelligence to break up a meeting between the Coil and local gangsters at the Gressan Breakbulk Dockyard on Courtsilius, which means a long exploration stretch, three optional pickups, and a firefight you start on the back foot. It's also the first mission where you get a say in squad composition, since the roster has opened up by the time you arrive.
How to Gather Advantage and Hold Ground in Star Wars Zero Company
By this point you can hire new Operators to fill out the company, and picking up one or two before this mission is worth doing — a medic first, then a soldier or assault class depending on how you like to play. Hawks is mandatory, but Trick and Jae both perform well alongside him here. The exploration section before the fight hands out Intel and Advantage for interacting with the right objects, and Advantage is the resource that decides how much punch your squad brings into the encounter, so sweeping the route matters more than usual. The battle itself starts with the enemy holding the better ground, which makes Overwatch and disciplined cover-to-cover movement more useful than aggression. Eavesdropping is the fourth chapter's critical mission out of fourteen, and the full campaign structure is laid out in Star Wars Zero Company Walkthrough: All Main Story Missions and Chapters.
Star Wars Zero Company Mission 3 Walkthrough

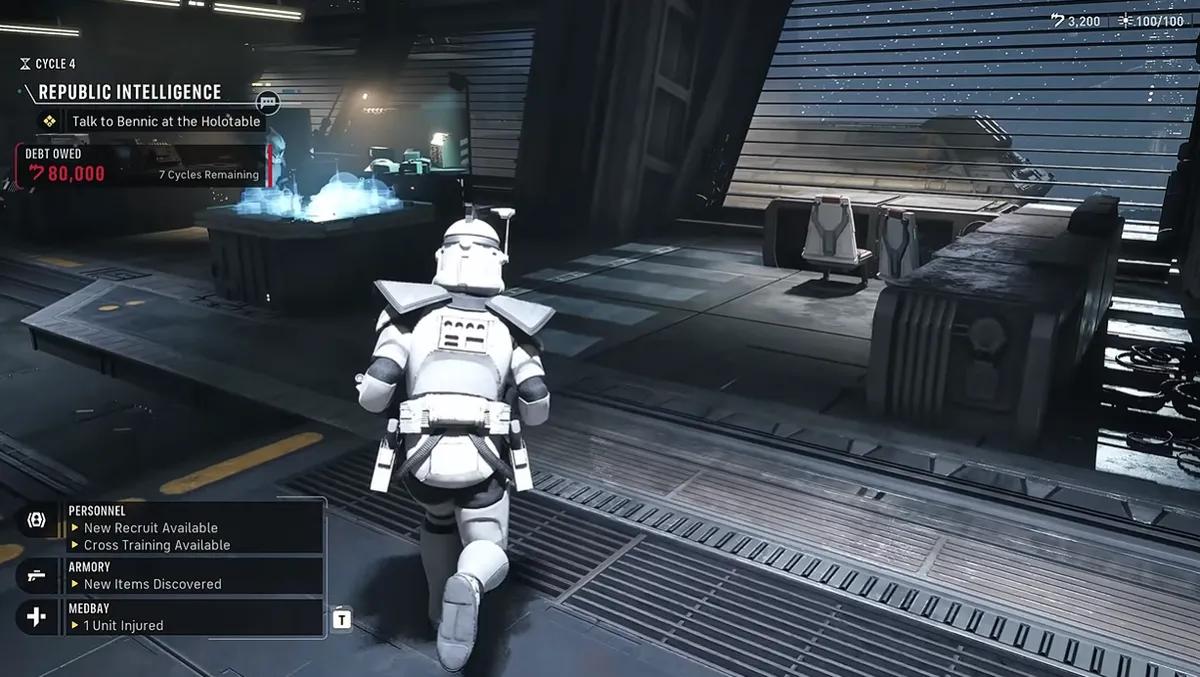
The mission opens in third-person exploration mode along a linear path to the dockyards, with three interactions worth stopping for, then transitions into a defensive fight. Here's the route in order.
Step # | Short Action | Description | Issue/ Tips |
|---|---|---|---|
1 | Talk to the dock worker | Near the landing pad at the start of the route | +3 Advantage — easy to walk straight past |
2 | Read the message board | Flyers and graffiti further down the ramp | +10 Intel |
3 | Use the railing scope point | Past the Gonk droid, against the railing | +10 Intel |
4 | Find the alternate route | The gang blocks the path forward | Turn back, take the stairs on your left |
5 | Slice the door | Cut through and cross the slum interior | Leads to the objective scope point |
6 | Hold the main platform | Enemies start with better positioning than you | Two Operators up top, two down right to the crates |
7 | Drop to ground level | Cover up top thins out as the fight goes on | Move cover to cover; skip the central shack |
8 | Cover both spawns | Reinforcements arrive at the back door and top-right platform | Split your firing lines before they land |
Work the Exploration Route for Intel and Advantage
You begin in third-person mode following a linear path toward the dockyards. Near the landing pad there's a dock worker you can speak to for +3 Advantage, which carries straight into the coming fight. Continue down the ramp and you'll find a message board covered in flyers and graffiti — interacting with it gives +10 Intel. Past the board, against the railing beyond the Gonk droid, there's a scope spot worth another +10 Intel. None of these are marked in a way you can't miss, and all three take seconds, so clear them before you push forward.
Find the Way Around the Gang

Past the scope point you run into the gang for the first time, and they're blocking the road forward. There's no fight here and no way through, so turn back and take the stairs on your left. Slice the door open and work through the interior of the slums until you reach a second scope point. This one is aimed at your actual objective, and using it triggers the cutscene that drops you into the battle, so tie off any exploring you still want to do before you interact with it.
Hold the Platform, Then Give It Up

The fight starts with you on the defensive against a sizeable group of smugglers who have better positioning from the outset. Hold the main platform you begin on, using Hawks and one other Operator to pick off targets from there, and send the other two down to the right to take the crates and hold that lane. The shack in the centre looks tempting and isn't worth the movement — leave it. Once you've cleared the enemies up top, the cover on the platform stops being adequate for your whole squad, so drop to ground level and advance cover to cover instead of trying to hold high ground that no longer protects anyone.
Cover Both Reinforcement Spawns
Reinforcements arrive from two places: the door at the back of the zone and the platform up to your top right. You need Operators facing both before the wave lands, which is the main reason to keep the squad split across two lanes rather than bunching everyone into one strong position. This is a good encounter for leaving a single AP unspent on each Operator — one point buys an Overwatch cone that can interrupt an advancing enemy mid-move, which is usually worth more than a final low-odds shot. Clear the reinforcements and a second cutscene closes the mission out.
Eavesdropping Rewards

Completing Eavesdropping gives you:
- +1,500 Credits
- +1 Contact
- +100 Den Level
The Den Level bump and the Contact are the parts that matter long term, since Contacts gate several later Operations and Den progression unlocks facilities. Courtsilius Tactical Missions can also be opened up through Operations rather than story progress, and the choices attached to them carry permanent bonuses — Neesh's Lead, for instance, grants a Cautionary Intel bonus that cuts Operator injury chance on dangerous Operations by 20%. Those branches are broken down in Best Choices To Make in Star Wars Zero Company.
Star Wars Zero Company Guide
Eavesdropping is where the campaign stops holding your hand. From the Smugglers and Slugrats chapter onward you'll be juggling critical missions against crisis missions that expire after a single cycle and crewmate missions that only appear while specific Operators are alive and bonded. If you want to revisit the earlier jobs or check what you skipped, How To Complete Not Your Turf in Star Wars Zero Company - Mission 2 Walkthrough covers the Lothal contract that got you here.
The habits that keep a run healthy from this point are mostly economic rather than tactical — running Operations before you shop, upgrading weapon families at the Den table, and farming Advantage off the weakest droids rather than ignoring them. Everything You Need To Know About Star Wars Zero Company Before Starting collects all of it, and it's worth a read before the mission count starts outpacing your cycles.


 Successfully copied... Thank you for sharing our content!:



5% deposit bonus up to 100 gems

a free Gift Case





EGAMERSW - get 11% Deposit Bonus + Bonus Wheel free spin


EXTRA 10% DEPOSIT BONUS + free 2 spins

3 Free Cases + 100% up to 100 Coins on First Deposit


5 Free Cases, Daily FREE & Welcome Bonuses up to 35%

3 free cases and a 5% bonus added to all cash deposits.

+5% to deposit




Comments