




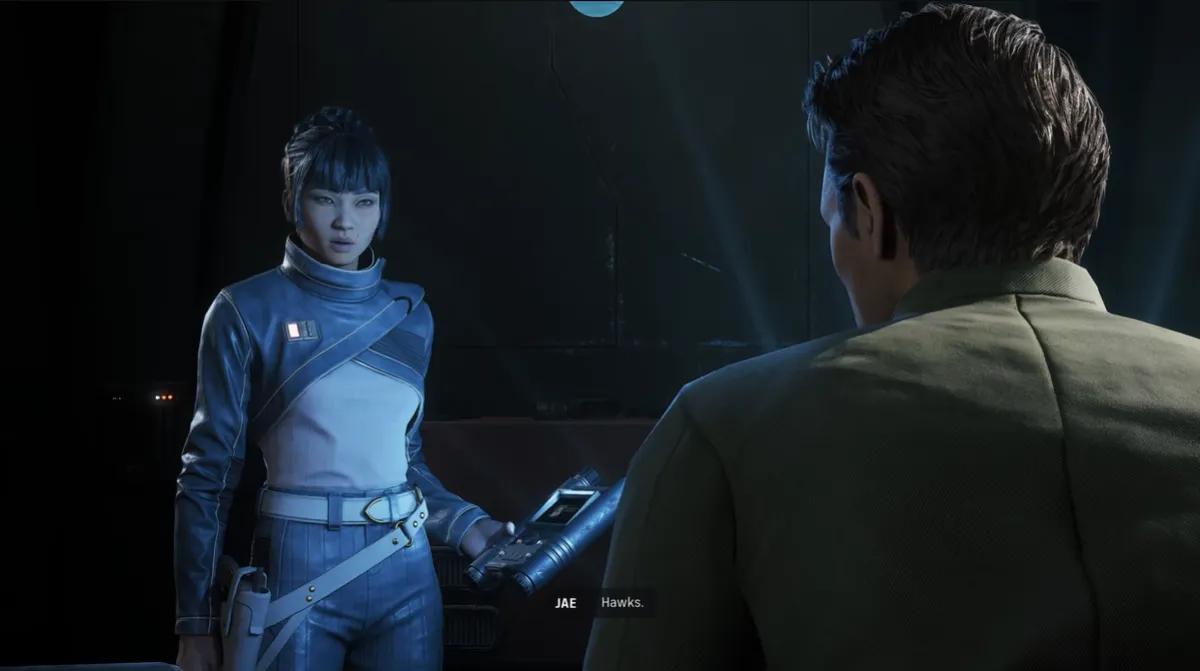
How To Complete The Serolonis Job in Star Wars Zero Company - Mission 1 Walkthrough
The Serolonis Job is the prologue mission of Star Wars Zero Company, and it doubles as the game's tutorial for cover, movement, flanking, Overwatch, grenades, and healing. You run it with Hawks, Trick, and Aurelio, picking up Kabb partway through, and you'll fight four separate encounters split by a linear exploration section. Failing it takes real effort, but the positioning habits you build here carry into every mission that follows, so play it properly rather than marching everyone forward in a line.
How to Flank and Hold Cover in Star Wars Zero Company
Zero Company is a turn-based tactics game in the XCOM mould, which means every unit spends AP to move, shoot, or act, and standing in the open is the fastest way to lose an Operator. Flanking is the core of the whole game: an enemy behind cover is far harder to hit from the front than from the side, so the winning pattern is to pin a target with one Operator while another swings wide. Hawks is the most resilient of your starting three and works best as the flanker, while Trick's heavy weapon wants a static forward position and Aurelio backs him up. Overwatch costs a single AP and lets an Operator fire during the enemy turn if a target moves through their cone, which is usually a better use of a leftover point than a low-percentage final shot. The prologue is the first entry in a fourteen-chapter campaign, and you can see how it fits into the wider run in Star Wars Zero Company Walkthrough: All Main Story Missions and Chapters.
Star Wars Zero Company Mission 1 Walkthrough

The mission breaks into four combat encounters with a third-person exploration stretch between the second and third. Here's the full run in order, with the mechanic each section introduces.
Step # | Short Action | Description | Issue/ Tips |
|---|---|---|---|
1 | Split into two lanes | Send Hawks right, Trick and Aurelio left, and advance to the tall machinery mid-map | Don't push past the halfway point — let the droids come to you |
2 | Clear the safe ambush | After Kabb opens the safe and Hawks grabs the device, a second wave hits | Kabb joins the fight here; this is the Overwatch and healing tutorial |
3 | Explore as Hawks | Take manual control and walk the linear route, interacting with objects | Interactions feed Intel and Advantage, so touch everything |
4 | Fight past the bridge | Use explosive containers, grenades, and Backup on the separatists | You barely need to move; explosives clear most of the group |
5 | Take the landing pad | Use Aurelio on the crane, then wipe the final squad | Kill the Surge-afflicted soldier first — Trick's rocket handles clusters |
Split the Squad Into Two Lanes
The opening battlefield divides cleanly into a left and a right approach. Send Hawks down the right, moving cover to cover as you close on the droids, and take Trick and Aurelio up the left where they can absorb fire and flank anything that turns toward Hawks. Hawks then returns the favour from his side, which is the mutual-flank pattern the whole game runs on. Stop at roughly the midpoint of the map, at the tall piece of machinery sticking out of the ground, and let the droids close the rest of the distance into your Overwatch cones. Trick's heavy weapon wants to stay near the front with Aurelio supporting him, so resist the urge to move him every turn.
The Safe Ambush and Your First Overwatch

A short cutscene has Kabb crack the safe and Hawks pull out the device the crew came for, and the ambush lands immediately afterwards. Kabb joins you for this one, giving you four bodies for the first time. The game uses this fight to teach Overwatch properly and to show you how to heal an Operator who goes down mid-battle, so let it — take a knockdown rather than save-scumming past it. Push left toward the building with Hawks, since he's strongest at mid to close range, and leave the other three on Overwatch covering the centre lane to catch anything that crosses. Flanking remains the fastest way to end the encounter.
Third-Person Exploration Between Fights
With the second wave down, the game hands you direct control of Hawks and lets you walk the area on foot. Each explorable zone is entirely linear with small story-driven detours, so there's nothing to get lost in, but there is plenty to interact with. Objects and data pads give Intel that follows you back to the Den, and some interactions grant Advantage that boosts your squad's power for the rest of the current mission. Sweep every prompt before you move on, because the exploration sections are the only place that Advantage is free.
The Bridge Fight and Explosive Containers
The third encounter sits just past the bridge and introduces environmental kills, grenades, and calling for Backup. Explosive containers scattered around the arena will take out anything standing near them, and between those and a couple of grenades most of the separatist group falls without your squad advancing far. Backup is worth understanding before you start firing here: each turn one squad member is picked to nominate a partner who fires at the same target, provided the partner has range and line of sight. Move everyone into position first, then shoot with the Operator holding Backup, or you'll waste the free shot on a target that's already dead. Several of the permanent Coil upgrades and enemy buffs you'll run into later can be stripped out entirely through campaign decisions, which Best Choices To Make in Star Wars Zero Company covers in full.
The Landing Pad and the Surge-Afflicted Soldier

At the top of the stairs the last group of separatists is waiting, and this time there's an objective in the middle of the arena. Aurelio draws the short straw and operates the crane to clear the landing pad, so plan a turn around getting him there safely. Prioritise the Surge-afflicted soldier in the centre before anything else — he's the single most dangerous unit on the field. Trick's rocket ability can take out two or three enemies at once if you line up the shot, which is the cleanest way to break the group. Finish by moving left toward the crates to dig out the last separatists hiding in the back-left corner, then sit back for the cutscene home.
The Serolonis Job Rewards
Completing The Serolonis Job gives you:
- +100 Intel
Intel is the currency that pays for Operations back at the Den, so this opening payout is what gets your first non-combat missions running.
Star Wars Zero Company Guide
The prologue ends with Zero Company back at base and the Holotable open, which is where the campaign proper begins. Your next critical mission is Not Your Turf on Lothal, a straightforward pirate clean-up job for the local Hutt warlord, and you can follow it step by step in How To Complete Not Your Turf in Star Wars Zero Company - Mission 2 Walkthrough. From there the mission structure opens up considerably, with critical, crisis, crewmate, and regular missions all competing for the same cycles.
Before you go much further, it's worth settling the systems the prologue only gestures at — how Advantage accumulates, why you should almost never end a turn on zero AP, and when to run Operations relative to shopping. Everything You Need To Know About Star Wars Zero Company Before Starting collects the habits that matter most on higher difficulties, where permadeath turns a sloppy turn into a lost Operator. Read it before you commit to a difficulty setting, because changing it mid-run costs you the difficulty-linked achievements.


 Successfully copied... Thank you for sharing our content!:



5% deposit bonus up to 100 gems

a free Gift Case





EGAMERSW - get 11% Deposit Bonus + Bonus Wheel free spin


EXTRA 10% DEPOSIT BONUS + free 2 spins

3 Free Cases + 100% up to 100 Coins on First Deposit


5 Free Cases, Daily FREE & Welcome Bonuses up to 35%

3 free cases and a 5% bonus added to all cash deposits.

+5% to deposit




Comments