Megabonk Boss Guide: Strategies to Beat Every Tiered Boss in Forest and Desert
Megabonk has quickly become a standout indie release of 2025, selling over a million copies worldwide. The game offers a deceptively simple premise: bonk waves of enemies and defeat bosses across two major regions, the Forest and the Desert. Each region has three Tiers, featuring progressively difficult bosses, with two hidden encounters for players to uncover.
Megabonk, a 3D action survival game inspired by Vampire Survivors, has achieved rapid success on Steam, selling over a million copies within its first two weeks. The game has overtaken Borderlands 4 in daily active players and secured a spot on Steam’s top-selling games chart, establishing a strong launch for developer Vedinad.
To find bosses, players must explore the map and locate boss portals. Red threads in the air guide you toward these portals, and a red arrow on the mini-map directs you back once the portal is found. Once activated, the boss appears along with minor enemies that spawn at timed intervals—Stone Golems or Chunkham the Terrible in the Forest, and Sand Golems or Scorpionussy in the Desert.

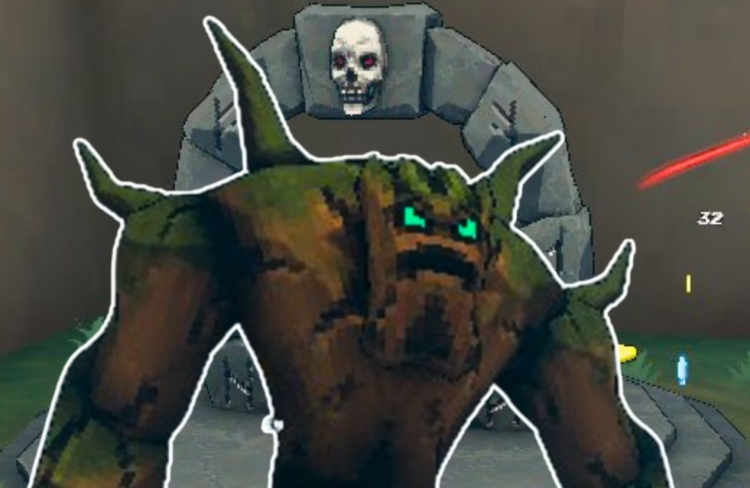
In the Forest, Tier 1 introduces Lil Bark. This boss remains stationary, so players are advised to kite in a circular pattern to avoid damage. Tier 2 features Chadbark, where focusing on a high-DPS weapon is key to managing an intense final swarm. Tier 3’s Bark Vader disables secondary weapons, so only the starting weapon should be upgraded, and healing pylons must be destroyed quickly.
The Desert presents a tougher challenge. Tier 1 has Lil Anubis, whose laser barrages require high mobility and the use of tornadoes for evasion. Tier 2’s Anubruh demands staying close to its feet to avoid rotating blue laser attacks. Tier 3 introduces Juge Anubis, disabling secondary weapons like Bark Vader. Players must destroy pylons carefully while dodging ice projectiles that can freeze movement.
Megabonk also features hidden bosses. In the Forest, Suspicious Bush can be tracked down, though it is recommended to attempt this fight at level 10–15 minimum. In the Desert, Bandit appears near a statue, offering predictable attack patterns but still requiring preparation before engaging.
| Boss | Area | Tier | Strategy |
| Lil Bark | Green Forest | 1 | Remains stationary; kite in a circular pattern. |
| Chadbark | Deep Forest | 2 | Focus on single high-DPS weapon; prepare for final swarm. |
| Bark Vader | Cursed Forest | 3 | Use starting weapon only; destroy healing pylons quickly. |
| Lil Anubis | Crusty Desert | 1 | Avoid laser barrages; use tornadoes for mobility. |
| Anubruh | Twilight Desert | 2 | Stay near boss’s feet; avoid rotating blue laser attacks. |
| Juge Anubis | Blood Desert | 3 | Use starting weapon; destroy pylons; dodge ice projectiles. |
| Suspicious Bush | Forest (All) | All | Track down “Sus Bush”; recommended at level 10–15. |
| Bandit | Desert (All) | All | Track down statue; attack patterns predictable but prepare before fight. |
Boss Curses add a layer of complexity. Activating a Boss Curse shrine makes bosses spawn clones of themselves for each shrine activated, offering higher XP at the cost of a much more difficult fight. These curses are not recommended for Tier 3 encounters unless the player has a god-tier build, as facing multiple Bark Vader or Juge Anubis clones can be overwhelming.
Success in Megabonk depends on strategy and preparation. Forest bosses are slightly easier to manage due to map layout and multiple escape routes, while Desert bosses demand high DPS and mobility to handle laser and ice attacks effectively. Understanding spawn timings for minor enemies and managing weapon choices are key factors in defeating the toughest bosses.
Comments