
How to Enable the Console in Dota 2 and Enhance Your Gameplay: Step-by-Step Guide
Dota 2 is already an exciting game on its own, but enabling the console can make the experience even better. By using the console, players can input commands to adjust various game settings, providing more control over their gameplay, similar to CS2.
However, for those new to the game, activating the console might seem challenging. This guide will walk you through the process of enabling the console in Dota 2 step by step.
How to Enable the Console in Dota 2
There are two main ways to enable the console in Dota 2:
- Through Steam
- Via the Game’s Settings
Activating the Console via Steam
To enable the console using Steam, follow these steps:
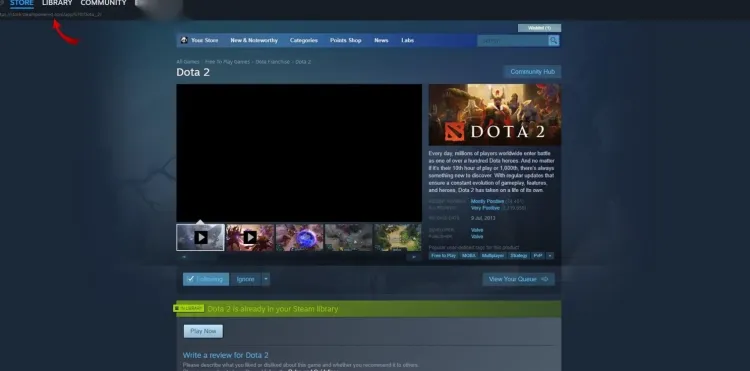
- Open Steam and head to your Library.
- Locate Dota 2 in your game list and right-click on it.
- Select 'Properties.'
- Under the 'General' tab, find the 'Launch Options' box.
- Type -console into this box and close the window.
Once these steps are complete, the console will be available the next time you launch Dota 2.
Enabling the Console from the Game’s Settings
The second method is just as simple. Here’s how to enable the console from within Dota 2’s settings:
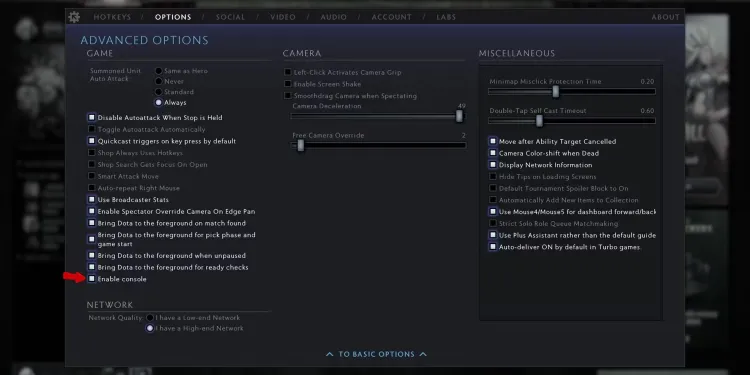
- Open Dota 2 and click on 'Settings' in the top left corner.
- Navigate to the 'Options' tab.
- Find and select 'Advanced Settings.'
- Turn on the 'Enable Console' option.
After enabling the console, you’ll need to assign a key to open it during the game. Here’s how:
- Go to 'Settings' within the game.
- Open the 'Hotkeys' tab.
- Under the 'Advanced Hotkeys' menu, locate the 'Console' option in the 'Interface' section.
- Choose a key for the console (by default, it's set to the \ key).
Once you’ve set a key, simply press it and type in the commands you want to use.

Useful Dota 2 Console Commands
Here are some helpful commands to enhance your Dota 2 experience:
Command | Function |
|---|---|
dota_no_minimap 1 | Hides the minimap |
dota_hud_colorblind 1 | Enables colorblind mode |
dota_minimap_hero_size 1000 | Increases hero visibility on the minimap |
dota_minimap_ping_duration 5 | Extends ping duration to 5 seconds |
dota_screen_shake 0 | Disables screen shake |
cl_showfps | Displays FPS |
fps_max | Sets a limit on the game's frame rate |
These commands can help you customize your gameplay experience, making Dota 2 even more enjoyable.


5% deposit bonus up to 100 gems

a free Gift Case


EGAMERSW - get 11% Deposit Bonus + Bonus Wheel free spin


EXTRA 10% DEPOSIT BONUS + free 2 spins

3 Free Cases + 100% up to 100 Coins on First Deposit


5 Free Cases, Daily FREE & Welcome Bonuses up to 35%

3 free cases and a 5% bonus added to all cash deposits.

+5% to deposit


Comments